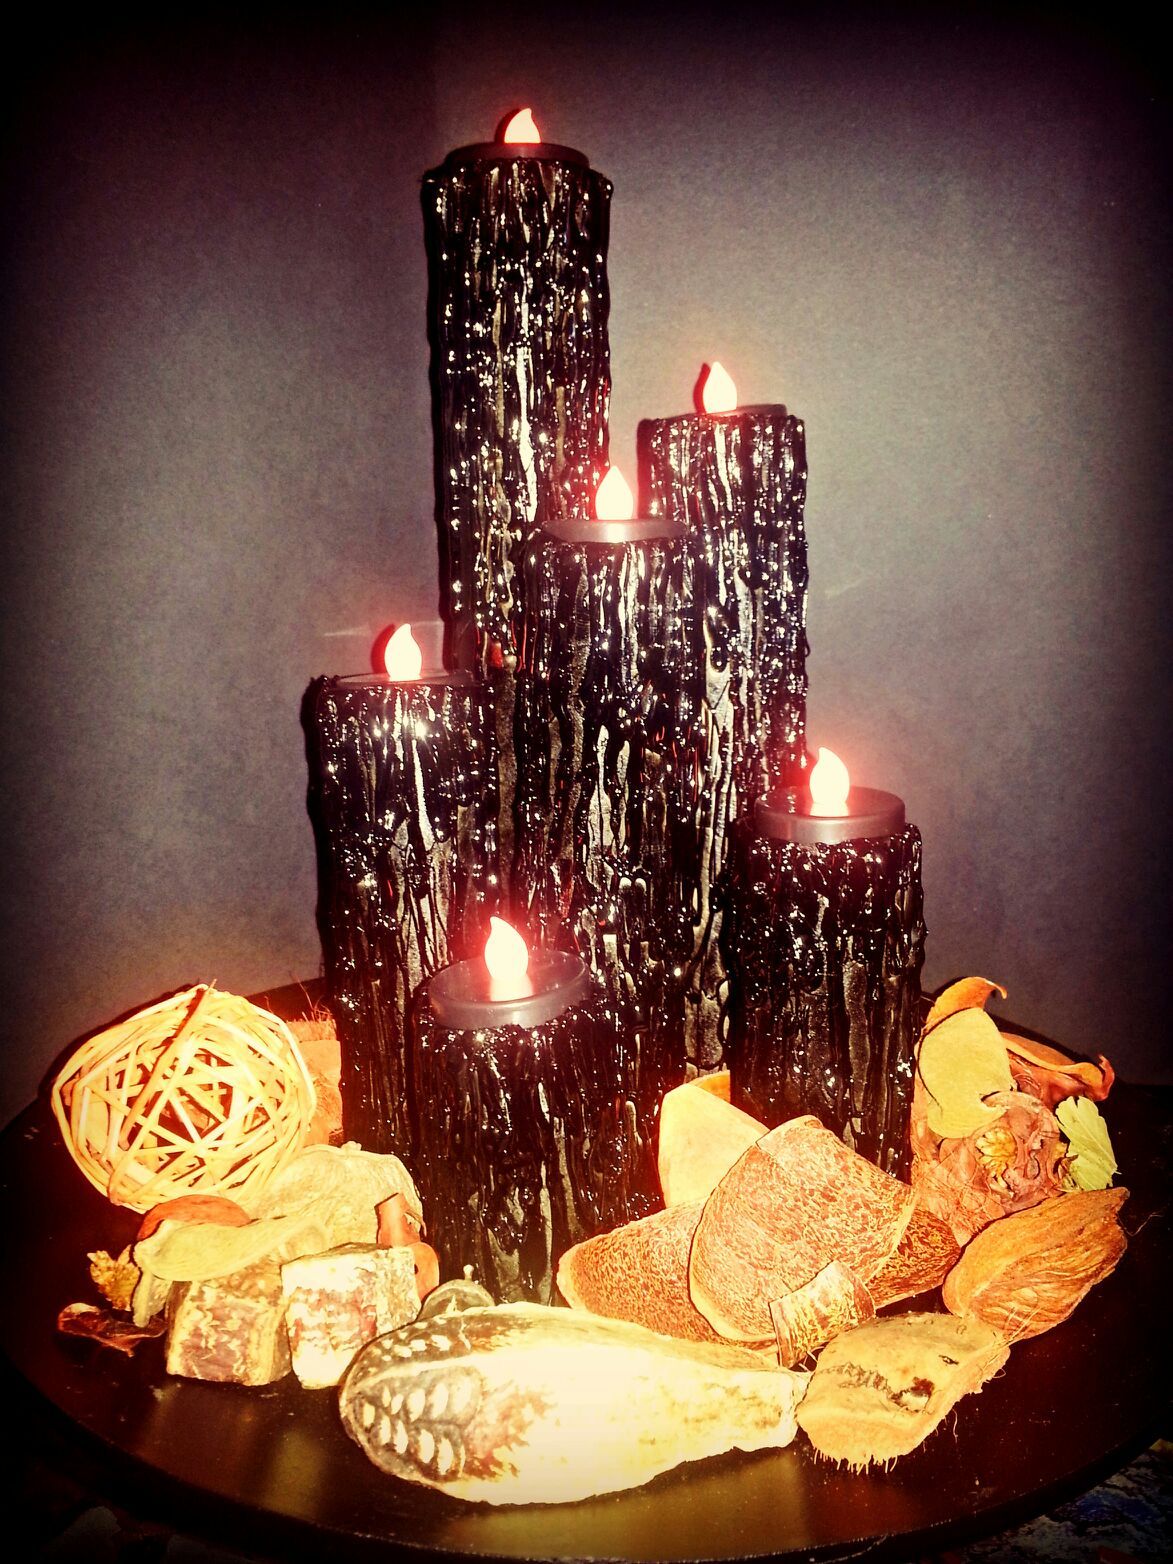
Drippy Halloween Candles

Yesterday, I made the 45 minute drive out to my sister-in-law, Denise's house to get my crafting mojo flowing. She has recently gotten me completely addicted to Pinterest, and we both pinned this particular craft project. So, we decided to go for it. It took a bit longer than I think either one of us originally thought it would take, not to mention a butt load more glue than we thought it would, but it turned out amazing.
I won't lie and say I planned on blogging about our project and took lots of pictures as we went long because I didn't. I was more concerned with being crafty. HaHa! Denise was kind enough, though, to send me the few pictures she took along the way. So, I'll do my best to describe the steps we didn't take pictures of.
Here's what ya need:
-empty paper towel rolls
-empty toilet paper rolls
-masking tape
-glue gun
-LOTS of glue sticks...think like 2 bags or more!
-black spray paint
-card board to spray paint on
-card board to use as a base for your candles
-battery operated tea candle in black for each drippy candle you make
Step 1
Cut or tape the rolls to the height you want them to be. We found it easiest to group them how we wanted the finished product to look. By doing it this way, you know if you need to make more for it to look right or if some need to be taller, shorter, etc. Denise had more toilet paper rolls than paper towel rolls, so we ended up taping the toilet paper rolls together, then cutting them down to the height we wanted.

Step 2
Once you have them all the height you want, you need to make a "bowl" or "nest" for the tea lights to sit in. You don't want to glue them into the rolls because you need to be able to take them out to turn them off and on.
I found it was easiest to get the tea light at the level you wanted by wrapping the masking tape around the bottom and setting it into the roll.


Once I got it to the level I wanted inside the roll, I folded the tape down the outside of the roll so it would stay. I did this all the way around the top of each roll which ended up being about 4 pieces of tape per roll.
Step 3
Once you have all your "bowls" or "nests" made, it's time to glue! We had a small glue gun...I believe it's called the "cool shot mini", but I could be wrong. It takes the mini glue sticks is really all I know! :)

While you can make these candles with this glue gun...we obviously did...I don't recommend it! Because it's such a small glue gun and uses small glue sticks, we didn't get many lines of glue per stick. Also, the line of glue that came out was very small. We had to go over the same area several times to get the affect a larger glue gun would have only taken once to get. If you have this glue gun or one similar to it, you don't have to go out and get a new one, but be prepared to have sore fingers...you pull that trigger a LOT!!
All you do with the glue is draw lines down the sides of the rolls. We did a mixture of thick and thin lines. The more you do, the more realistic it will turn out in the end.
Step 4
Once the glue has dried, you need to glue them down to your base. We cut a small circle out of card board for this. Arrange them how you want them to look and one by one, glue around the base with the hot glue. It get's tricky if you have them placed close together. You can hold the roll up and put the glue on before placing it down, then glue around it to make sure it's secure, though. After they're secure and the glue is dry, add more lines of glue so you don't see the circle around the base and it looks like the candle is melting into the base. Again, the more you do, the better it will look.

Step 5
Spray paint time!!!
After all the glue is completely dry, grab your other piece of card board and go somewhere safe to spray paint. We went out to a patio that was well ventilated. Then spray away! The rolls will absorb the paint, so don't be surprised if you spray an area then come back to it a few minutes later and it looks like it has spots that are missing paint.

Step 6
Wait...go do something else...watch a movie...go shopping...whatever you want. All that's left is to wait for the paint to dry. Once it's dry, put the tea lights in and you're done!!
No comments:
Post a Comment